...
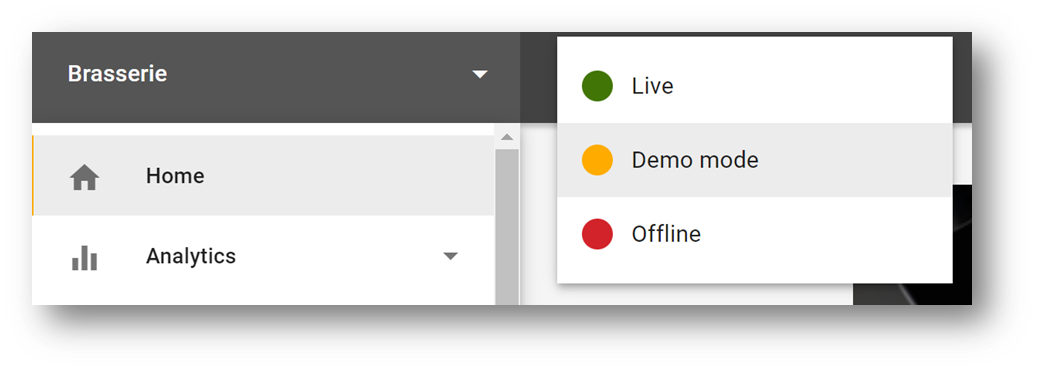
Set your venue to Demo Mode, using the dropdown on the top. The demo mode allows you to place and accept orders as normal - the only difference is that no payments will be processed.

Open your public Web ordering page (the one your customers will see) by going to Styling → Web Orders → Preview in Browser. The URL in the page that opens is what you will need to share with your customers when you are ready for them to see it.

From your public Online Ordering page, place some test orders; in demo mode, no payment will be taken, but you will be able to view the regular order journey.
From the customer’s side, you should see an order confirmation page, and you should receive the order confirmation email
From the venue side, you should be able to view and processed the order through the Orders page. See more on managing orders
Use the demo mode to experiment with any changes you might like to make, and to get comfortable with the overall functioning of the system before going to live. Once a venue is set to “Live”, demo mode will no longer be available.
| Info |
|---|
You can only test your payment integration and POS integrations in Live mode. Once you come out of Demo you must change to Offline first before being able to test in Demo. |
...