...
Create a new menu or duplicate and edit a current menu
Navigate to Menus > My Menus, and either click Add Menu or hover over the three dots and click duplicate

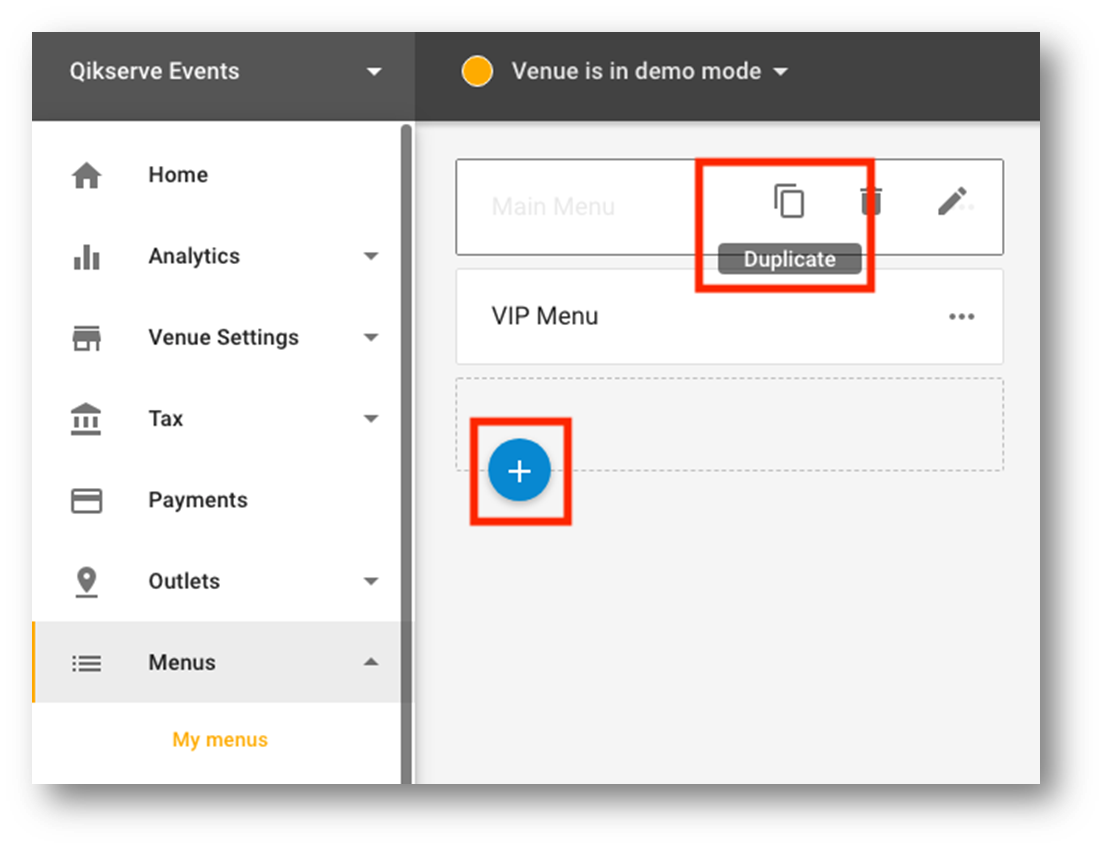
In this example we have already duplicated the menu and renamed it VIP Menu.
For more information on menu creation and management see this article on menu creation and editing.
Go to Outlets > My Outlets and create new outlets where you would like to have the new menu included
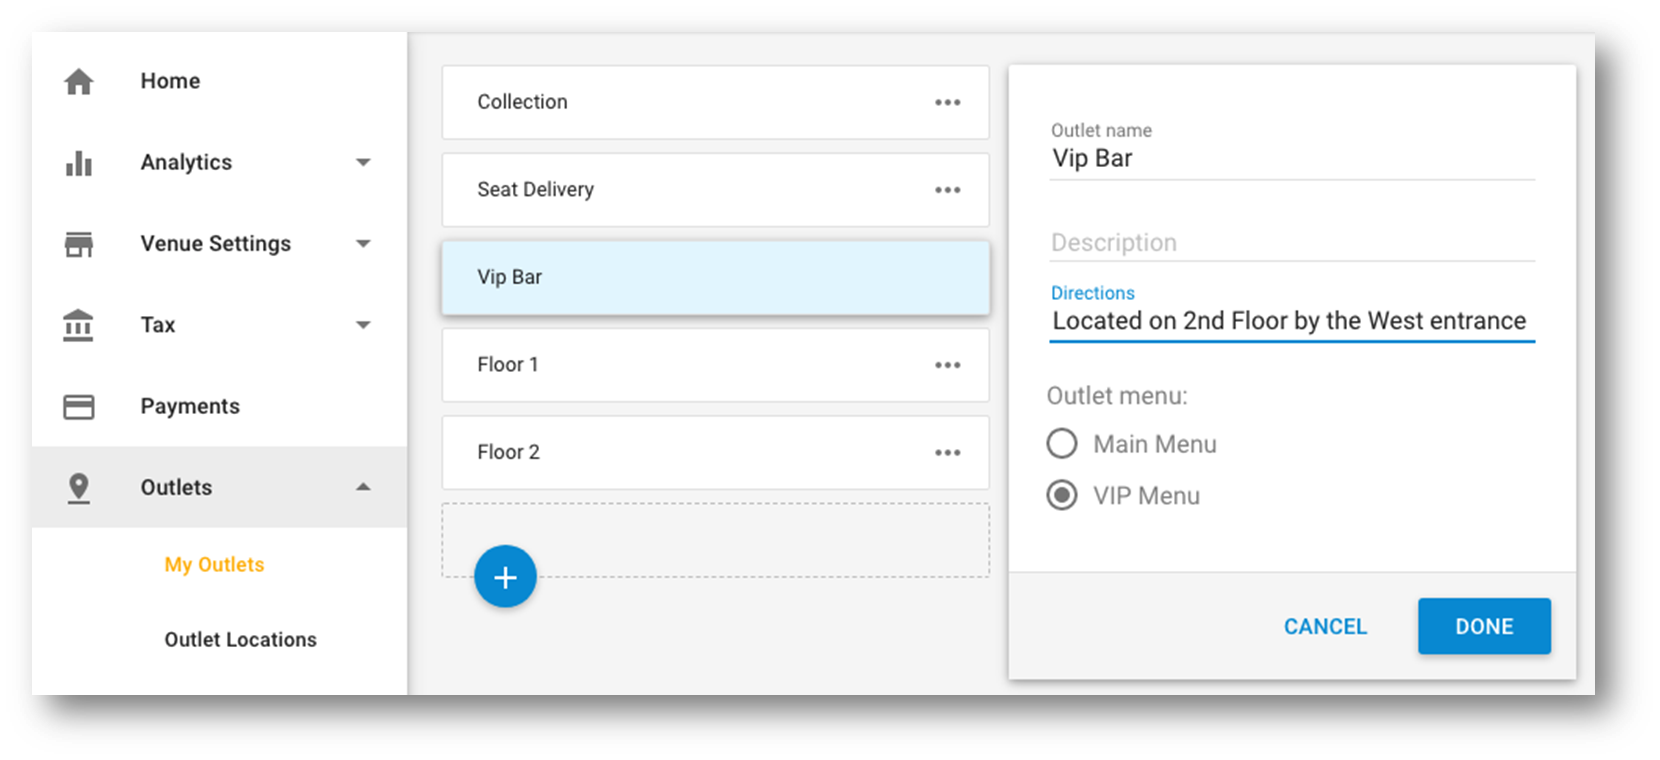
Give your Outlet a name
You can include a Description and Directions if you’d like. This will appear on the order confirmation page for the customer. NB if you are using identical pickup points, you will need to duplicate the outlets (see screenshot below)
Select the correct Outlet menu
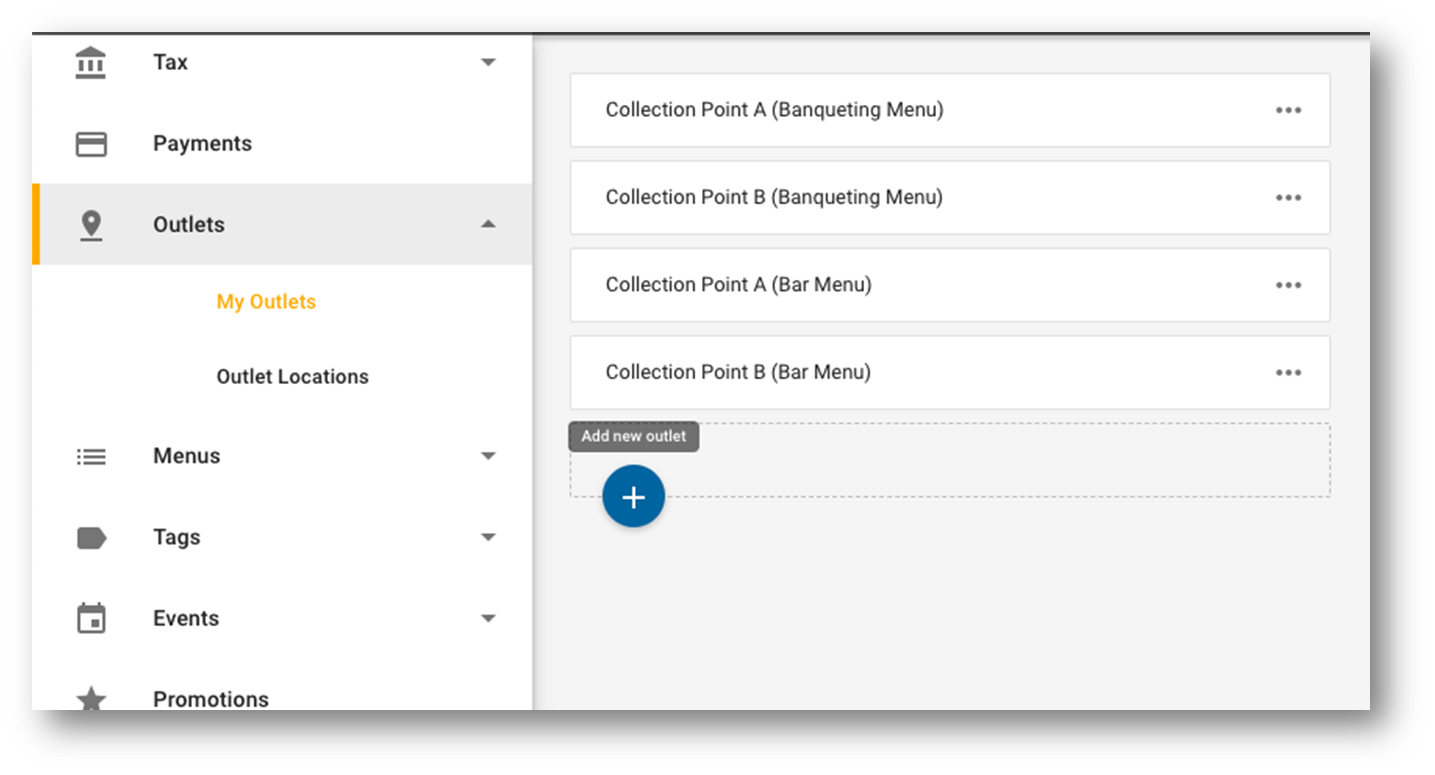
If you are using Collection pickup points for your Outlet Locations that use different kitchens/bars to create the orders, you will need to create all these locations as Outlets with the correct menu selected. See screenshot below. This will be explained at the bottom of the article on Event Order Management but is to do with how each location will filter to view the orders relevant to them only.
Go to Outlets > Outlet Locations
Navigate to an Outlet Location that you’d like to add the Outlet to and click the blue Add Outlets button on the top right hand corner

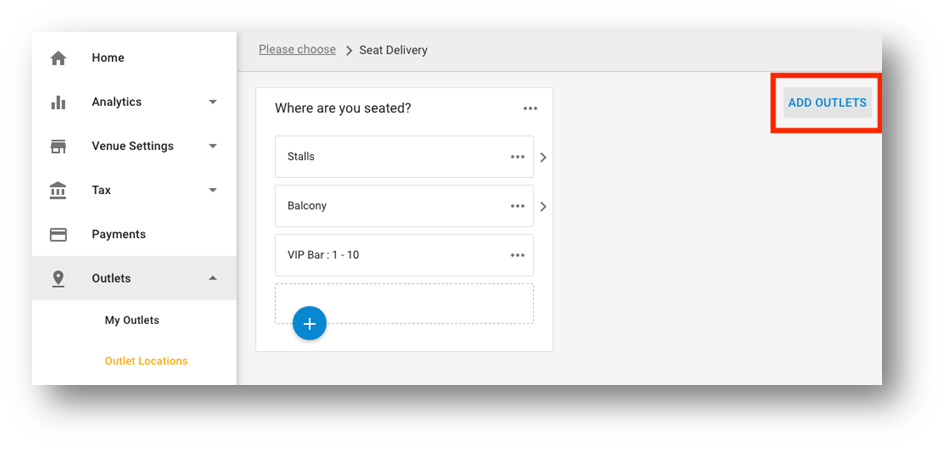
Drag and drop the correct Outlet with the menu you’re looking to show to that location

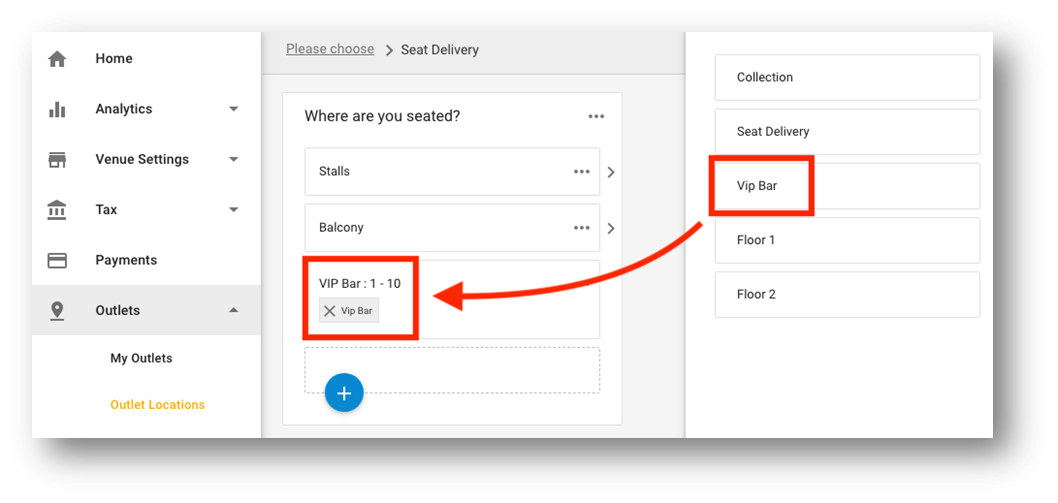
Now, when a customer selects a seat number in the VIP Bar they will be shown a different menu than the rest of the customers who select a different seating area.
...