...
From your QikServe Dashboard (http://app.preoday.com ) select 'Tags' on the left hand side menu, and then 'My Tags'


Click the blue circle with the '+' inside it to create a new Tag, and give your Tag a name - e.g. Alcohol
Next click on ‘Tag Actions' on the left hand side under 'My Tags’Tags’
Click the blue circle with the '+' inside it
Under the 'Basics' tab,
give Give the tag action a name - this is not customer facing
and Add a message title to display on the app e.g. 'Under 25?' - this is customer facing
In the message body enter exactly what you want the message to say
Then search for the tag you want this tag action associated with. This will be the name of a tag you have created under 'My Tags'
Select whether you want the tag to trigger at the basket stage or at the checkout
Select the frequency of the tag action; it can be Once only / Once per order / On every trigger


Under the ‘Advanced’ tab you can link to a webpage e.g. in this case, perhaps the Drink Aware website would be suitable. This isn’t a required step but is optional.
Click 'Done' to save.
Applying the Tag:
You can add a tag either to a menu section or individual items. Click on 'Menus' and then 'My menus'.
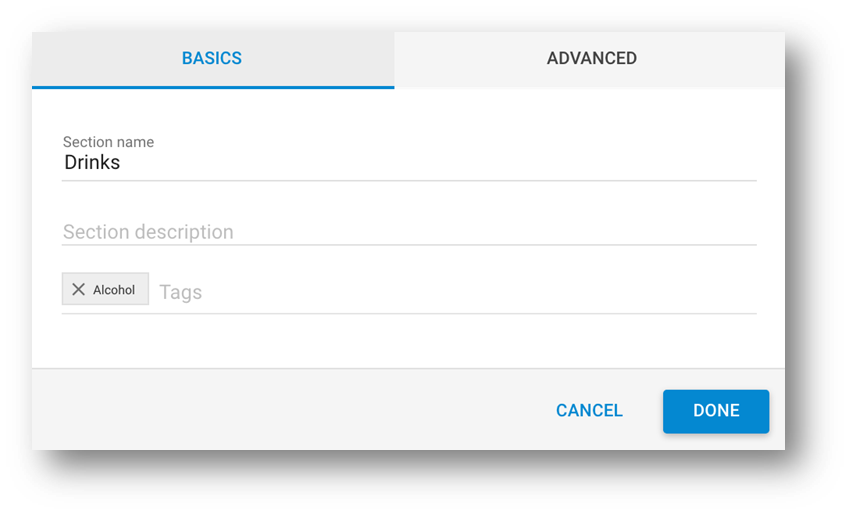
To add a tag to a menusection, click on the menu you want to add the tag to and this will bring up the list of sections
Scroll over the three dots next to the relevant section and click on 'Edit'.
Under the 'Basics' tab, search for the tag you created under the 'Tags' field. Once you have found it, click on it to add the tag to the menu section.
Click 'Done' to save.

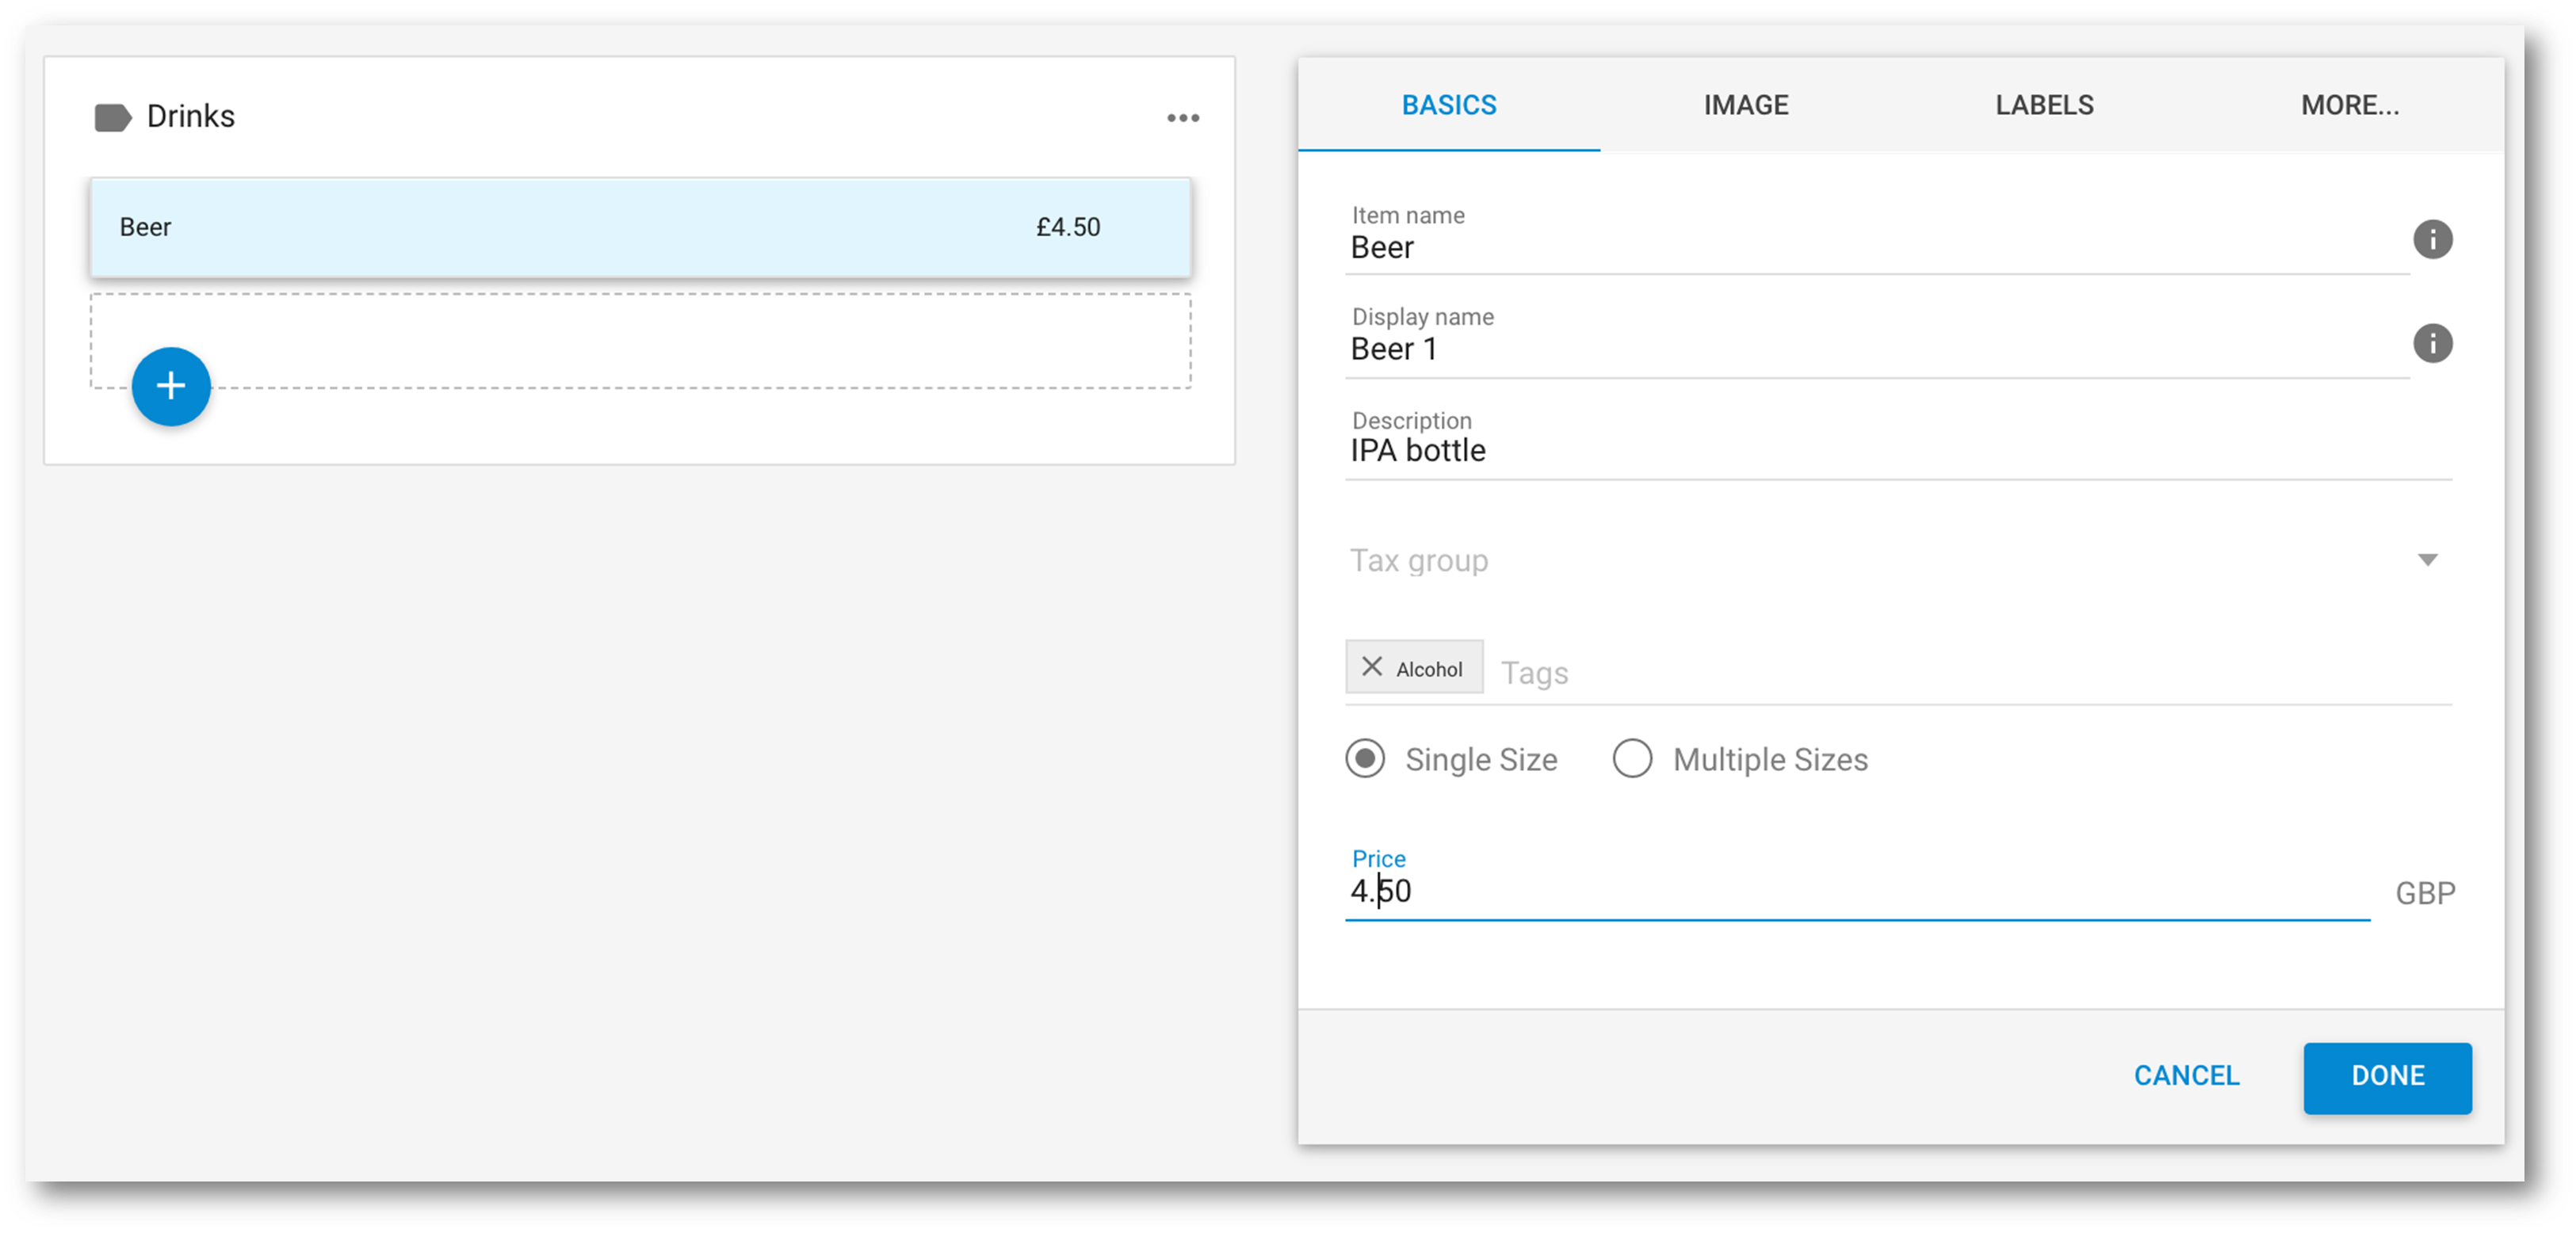
To add a tag to specific menu item, click on 'Menus' and then 'My menus'. Click on the relevant menu section and find the item you want to add the tag to
Scroll over the three dots on the right hand side of the relevant menu item and click on 'Edit'.
Under the 'Basics' tab, search for the tag you created under the 'Tags' field. Once you have found it, click on it to add the tag to the menu section.
Click 'Done' to save.

Once a tag has been added to a menu item or section, it will activate a pop up box for the customer based on when you have selected it to trigger.
...
| Filter by label (Content by label) | ||||||||||||||||||
|---|---|---|---|---|---|---|---|---|---|---|---|---|---|---|---|---|---|---|
|
| Page Properties | ||
|---|---|---|
| ||
|